
Beginning stages of forming the Ferrari
By the time I came to class, I was the only person there. So I grabbed the model and some metal and began the process.
- Using some paper, I traced out the shape of my sections. Because my part is so large, it wouldn't fit on one so I had to divide the shape equally. I made the choice to do the back in three parts to make the curves and bends more manageable, as Russell said it didn't have to be made in one piece, which was lucky because the metal wasn't large enough to do so anyway. The windscreen would rise over to the crest of the roof and then join the downward slope to the trough of the roof. This would then join the tail of the car as it rises up for aerodynamics. To do all of this in such a large shape would be extremely tricky, it would simulate the torus but with curves in three planes. My methodology would also suit my style of metal shaping which will be covered later.

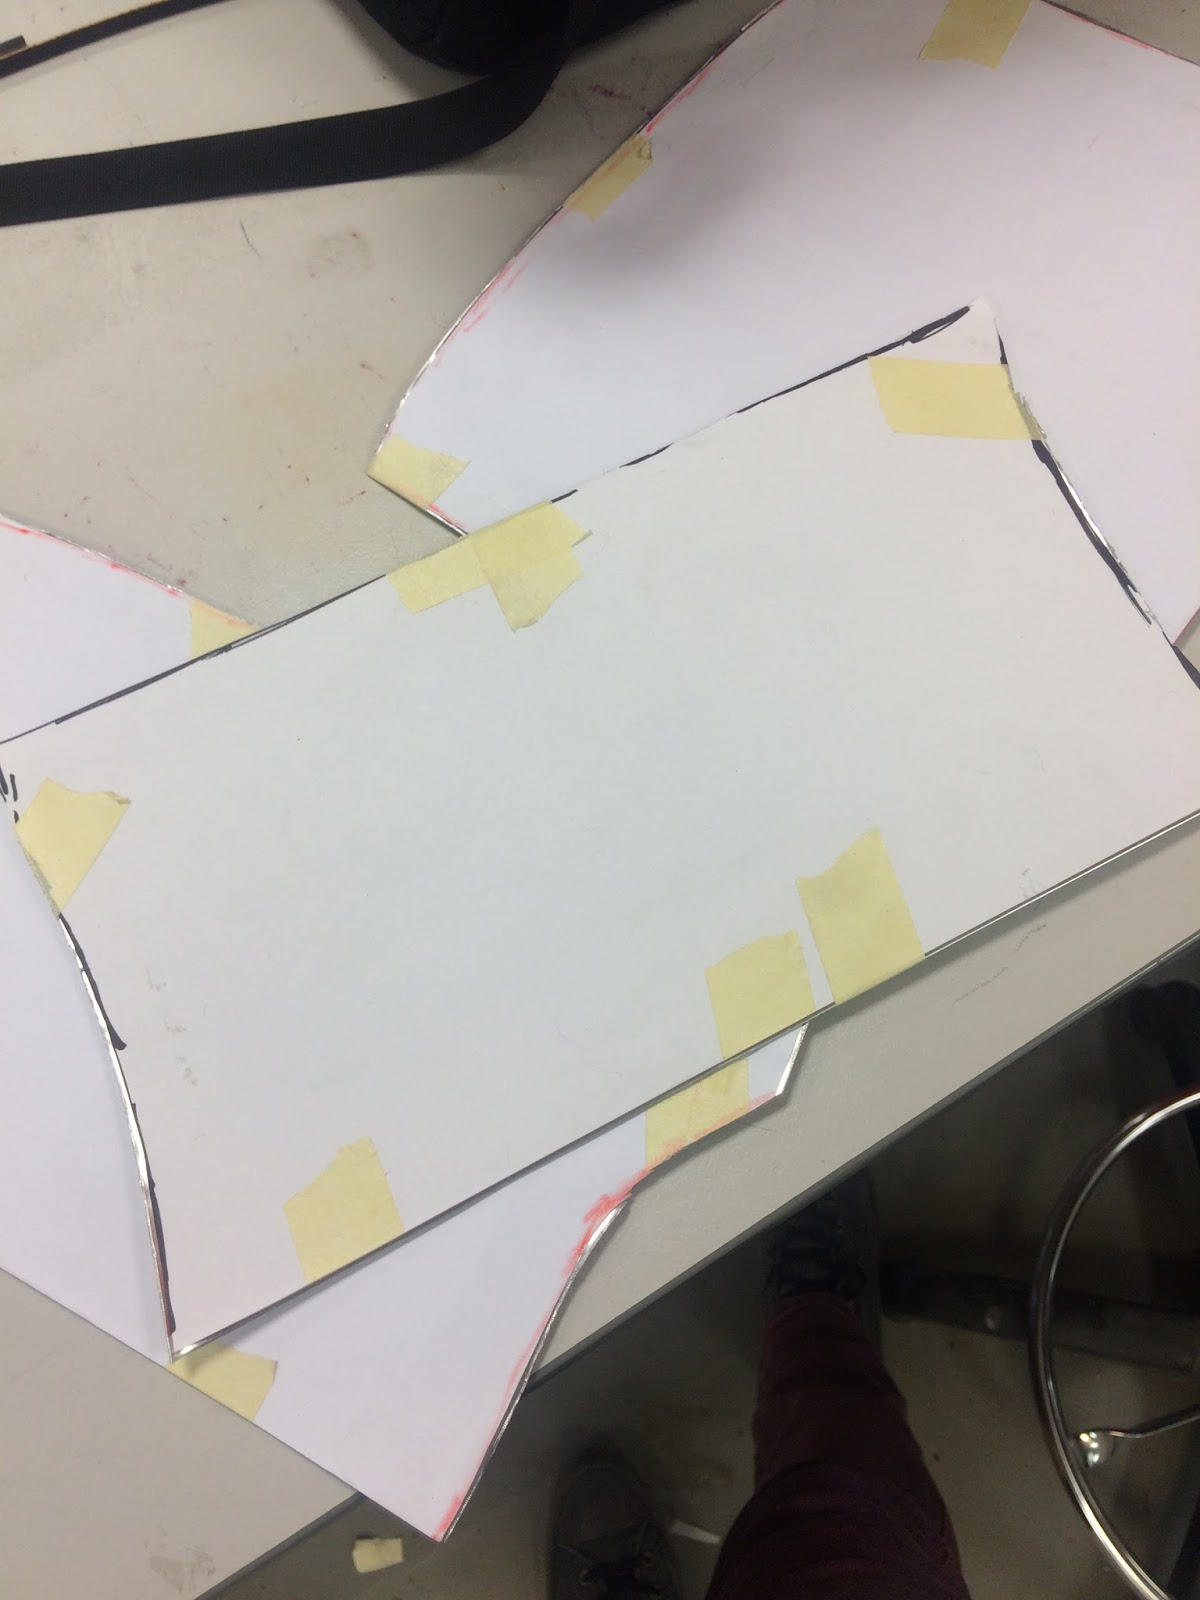
- Now that the shape was traced onto paper, I cut them out and taped them to the aluminium. I did this in such a way as to leave enough material in the sheet as a useable off cut for my other team member doing the side panel.
- The pieces then had to be cut out, and it was difficult to find a pair of sharp tin snips. As mentioned in my previous post, I have an ongoing problem with a strained tendon in my thumb of my main hand, so this was extremely difficult. Pushed though and I had completed the metal shapes ready for forming.
The first piece I started was the centre piece, seen below, as this seemed the easiest. The workshop was very busy and tools were really limited, so I tried to think outside the box. Using the cylindrical timber piece I stretched the metal to get a subtle curve. The outside wings curve down even more so I had to wait for the long cylindrical cast iron mould to get a uniform bend. They were the main curves on this piece. The next step in the process was long and arduous and involved using the english wheel to smooth and slightly shape. As the model was in the next room I had to constantly move back and forth, so to eliminate the time I did a lot of the bending with my hands and random things in the 24 hour workroom, such as chairs and tables. The main trouble was getting the piece to sit exactly in the right place and flat on the model, as every bend in one direction would shift in another direction, something worse in flatter designs as they aren't as rigid.


- I was fairly happy with the first piece, and although not complete, will come back to it later. I was a bit concerned about finishing on time as this was before Russell had given the extension.

Now that I had made a good start, the next step was to create the front windscreen component. This had a large bend in the middle of the y axis, a subtle curve along the x axis, and a strong bend at the end of each x axis. This last bend is in conflict with the bend in the y axis which posed the greatest problem. As you can see in the photos, I begin with a very rough shape formation with the nylon mallet and the sand bag, very rough. I then use the English Wheel to smooth the metal and get some uniformity in the piece. Personally, this allows me to better control the metal, using both hands to bend as the wheel flattens and smoothes, and achieve a more attractive finish product.


- Within this segment, the large bend from the windscreen to roof was the easiest to form, yet the hardest to maintain. Every movement along the perpendicular axis seemingly pulled this back to flat. To save time making a mould, I repeated the process gradually and very slowly I started to see the shape I was looking for. As I aligned the piece, some edges were distorted and will require trimming, which is to be expected as parts shrink and expand after deformation.


No comments:
Post a Comment